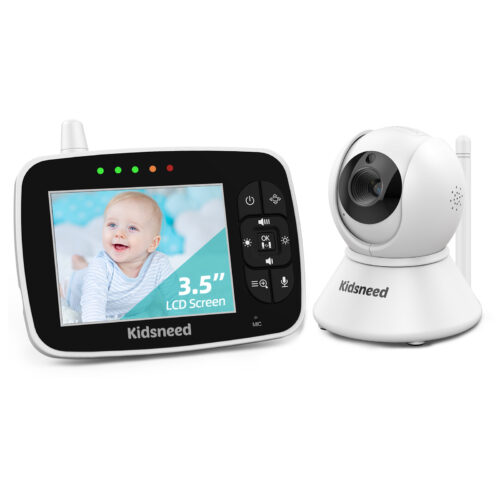
Description
FOR PARENTS WANTING TO MONITOR MULTIPLE ROOMS OR CHILDREN
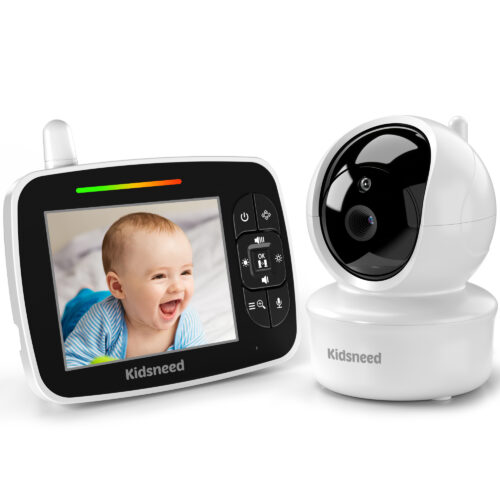
– Add-on KidsneedCamera can be used with the KidsneedSM935AMonitor.
– Allows pairing up to 4 cameras to your SM935A Parent Unit.
– Includes camera unit power adapter.
PAIRING THE ADD-ON CAMERA (BABY UNIT) WITH YOUR SM935A PARENT UNIT
To renew the pairing of your units or pair a new/additional Baby Unit, follow the procedure below:
Note: Before you begin pairing, be sure to have the Baby andParent Units side by side and turned on.
On the Parent Unit press the MENU/Exit key and the menu screen will be displayed.
Press the LEFT key or RIGHT key until the camera icon is highlighted in red then press UP key or DOWN key to select the desired camera to pair.
Press OK key to start the pairing.
While the LED is flashing, press and hold for few seconds the PAIR button in the back of baby unit.
Once paired, an image from the paired camera will display on the screen.
If unsuccessful, please repeat above steps.
Press the MENU/Exit key to Exit.
Note: If there is more than one camera to be paired, repeat the above steps for each camera individually.
CAMERA VIEW – SWITCHING BETWEEN THE PAIRED CAMERAS:
This function is only available when two or more cameras are paired. The following steps should be performed on the Parent Unit (sold separately with KidsneedMonitor SM935A):
Press OK key to view / scan camera. It will switch the view to the next paired camera.
On the top of the LCD display you will see the number of the camera it is connected to.
AUTOMATIC SCAN (LOOP) MODE:
You can also chose the SCAN (loop) mode and each paired camera will be displayed on the screen for 10 seconds and then the screen will automatically change to the next paired camera.
Press OK key several times until you will see the loop sign on the top of the LCD screen.
